Whether you’re crafting hair accessories, wrapping gifts, embellishing clothes, or decorating for an event, fabric bows add a personal and stylish touch. Unlike store-bought ribbon bows, handmade fabric bows are customizable, reusable, and incredibly charming.
In this comprehensive guide, you’ll learn multiple techniques for making fabric bows—from simple no-sew methods to elegant double-loop bows and even wired fabric styles. Whether you’re a beginner or seasoned DIYer, these tutorials and tips will have you making bows for any occasion in no time.
Let’s dive into the many ways to make a bow with fabric!
Contents
- Materials You’ll Need for Fabric Bows
- No-Sew Basic Fabric Bow
- Hand-Sewn Fabric Bow
- Double Loop Fabric Bow
- Wired Fabric Bow
- Tied Bow with Long Tails
- Fabric Bow with Elastic for Hair Accessories
- Bow Tie for Clothing
- Oversized Fabric Bow for Décor
- Tips for Perfect Fabric Bows
- When to Use Handmade Fabric Bows
- Final Thoughts
Materials You’ll Need for Fabric Bows
Before we get into specific techniques, gather these basic tools and materials. Most methods use some variation of the following:
- Fabric (cotton, satin, velvet, tulle, canvas, or felt)
- Fabric scissors
- Ruler or measuring tape
- Hot glue gun or fabric glue
- Needle and thread (optional)
- Iron (to remove wrinkles)
- Clips or pins (to hold things in place)
- Optional: sewing machine, wire, elastic, clips, or decorative accents
The type of bow you want to make will determine which tools you’ll need. Now let’s explore the different styles.
No-Sew Basic Fabric Bow
The easiest bow for beginners, requiring only glue and fabric. Great for gift wrapping, hair accessories, or crafting.
Steps for a No-Sew Fabric Bow
–––––––––––––––––––––––––––––––––––––––––
- Cut your fabric: Use a rectangular piece of fabric. For a small bow, try 6″ x 4″. For a larger bow, increase proportionally.
- Fold the edges: Fold in the long edges about ½ inch to hide raw edges. Do the same for short edges.
- Form the bow: Fold the fabric accordion-style (like a fan) or pinch the center to form loops.
- Secure the center: Cut a thin strip of fabric and wrap it around the center. Glue it in place.
- Adjust: Fluff the sides and shape the bow.
This method is ideal for cotton or stiff fabric that holds its shape well.
Hand-Sewn Fabric Bow
For a more durable bow, especially for sewing onto clothing, the hand-sewn method is ideal.
Steps for a Hand-Sewn Bow
–––––––––––––––––––––––––––––––––––––––––
- Cut two rectangles: One for the bow (e.g., 8″ x 6″) and one smaller for the center (e.g., 2″ x 3″).
- Hem edges: Fold the edges of the main fabric inward and sew or glue them down.
- Create the bow: Fold the fabric in half lengthwise (right sides together), sew the edge, and flip it right-side out. Do the same for the center strip.
- Shape and pinch: Pinch the center and stitch through the folds to secure.
- Add the center strip: Wrap the small fabric strip around the center and sew or glue it in place.
Perfect for felt, satin, or cotton materials.
Double Loop Fabric Bow
This elegant bow looks great on dresses, sashes, or as a statement hair accessory.
How to Make a Double Loop Bow
–––––––––––––––––––––––––––––––––––––––––
- Cut a long strip of fabric: About 18–24 inches long, 2–3 inches wide.
- Create two loops: Fold the fabric back and forth to create two loops on each side.
- Pinch the center: Bring the loops together at the center and pinch.
- Secure with thread: Tie a piece of thread tightly around the center to hold the shape.
- Wrap the middle: Use another fabric strip or ribbon to wrap and hide the thread.
This method gives your bow extra volume and is ideal for formal events or decorative garments.
Wired Fabric Bow
Want a bow that holds its shape no matter what? Try this technique with fabric-covered floral wire.
Making a Wired Bow
–––––––––––––––––––––––––––––––––––––––––
- Cut your fabric and wire: Cut a strip of fabric and two equal lengths of thin wire.
- Hem the edges: Fold and glue the edges of the fabric to hide raw seams.
- Insert the wire: Place the wires into the fabric along the edges (use a glue gun to hold them in place).
- Form the bow: Bend and twist the wired fabric into loops.
- Secure the center: Wrap with a small piece of fabric and glue tightly.
This technique is ideal for tulle, satin, or any decorative fabric.
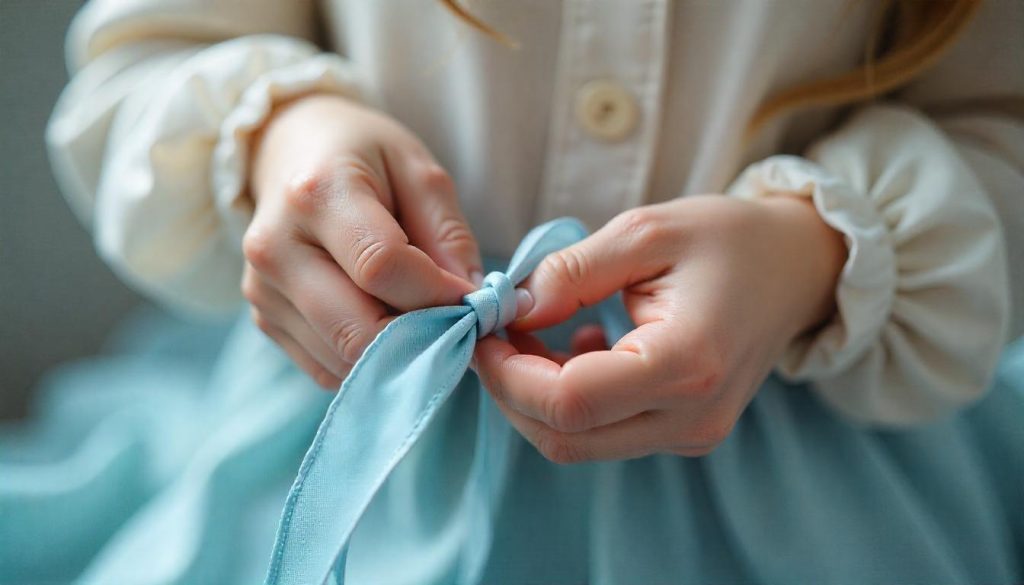
Tied Bow with Long Tails
Perfect for wrapping gifts, bouquets, or attaching to home décor, this bow looks like a ribbon but made with real fabric.
How to Make a Tied Fabric Bow
–––––––––––––––––––––––––––––––––––––––––
- Cut your fabric strip: Try a strip that’s 3 inches wide and about 24 inches long.
- Fold and press: Iron the strip to remove any creases.
- Tie a bow like shoelaces: Create two loops and knot them together.
- Adjust the tails: Pull the loops and tails until even and shape the fabric.
- Optional finish: Trim the ends at an angle or into a V-shape for a polished look.
Great for soft fabrics like cotton, velvet, or linen.
Fabric Bow with Elastic for Hair Accessories
This method is great for making hair ties or headbands.
How to Make a Fabric Hair Bow
–––––––––––––––––––––––––––––––––––––––––
- Cut the fabric: Use a rectangular shape (e.g., 8″ x 6″).
- Fold and sew: Fold the fabric in half, right sides together. Sew the edge and flip it right-side out.
- Attach to elastic: Pinch the center and loop a small strip of fabric around the bow and the elastic. Sew in place.
- Secure: Double-knot the thread or glue for durability.
Use fun prints or velvet for seasonal styles.
Bow Tie for Clothing
Want to add a bow tie to a shirt or blouse? Here’s how to sew one that’s both classy and customizable.
How to Make a Fabric Bow Tie
–––––––––––––––––––––––––––––––––––––––––
- Cut your fabric: You’ll need two main pieces (e.g., 9″ x 5″) and one small center piece (2″ x 3″).
- Sew the body: Sew the large pieces together (right sides in), leaving a gap to turn it inside out.
- Flip and press: Turn it right-side out, iron flat.
- Pinch and sew center: Stitch the middle to form pleats.
- Wrap center: Sew the small center strip around the pleats to finish.
- Attach a clip or strap: Use a bow tie clasp or elastic to wear.
Works best with stiffer fabrics like cotton or canvas.
Oversized Fabric Bow for Décor
Great for weddings, parties, or wall art, this bow makes a bold statement.
Steps for an Oversized Fabric Bow
–––––––––––––––––––––––––––––––––––––––––
- Cut large fabric pieces: Try 18″ x 12″ for the bow and 4″ x 6″ for the center.
- Hem the edges: Fold and glue or sew to hide raw seams.
- Shape the bow: Fold the large piece accordion-style.
- Secure the center: Use hot glue or thread to pinch and hold.
- Wrap and decorate: Add the center strip and any floral embellishments.
Best fabrics: burlap, canvas, linen, or tulle.
Tips for Perfect Fabric Bows
- Iron your fabric before starting for smooth, crisp results.
- Stiffen soft fabric with spray starch or interfacing.
- Use templates or rulers to make your loops even.
- Try different fabrics like velvet for luxury, canvas for rustic, or silk for elegance.
- Mix patterns for layered bows (e.g., stripes and florals).
- Practice with scrap fabric before using expensive materials.
When to Use Handmade Fabric Bows
There are countless ways to use fabric bows in your projects. Here are some popular applications:
- Hair accessories (clips, headbands, ties)
- Clothing (blouses, collars, waistlines)
- Home décor (pillows, curtains, wreaths)
- Gift wrapping
- Party decorations
- Holiday crafts (tree ornaments, napkin holders)
- Wedding décor (aisles, arches, favors)
Final Thoughts
Learning how to make bows with fabric opens up a world of creativity. Whether you’re decorating for a party, sewing a new outfit, or crafting handmade gifts, the fabric bow is a timeless detail that adds charm and style. With the different methods in this guide—from no-sew basics to oversized décor bows—you now have all the tools you need to get started.
So grab your scissors, choose your favorite fabric, and start creating beautiful bows that bring your projects to life.